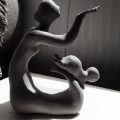

The first geometric figure I sculpted at New Masters Academy was a half-cube that was molded into a half-sphere. It didn’t require an armature, but we were supposed to make the sphere big enough that you could practice using basic sculpting techniques on it.
Of course, you could just roll a big baseball size sphere out of clay and cut it in half, but you wouldn’t learn anything about sculpting that way. 🙂
The goal of this project is to learn basic sculpting techniques. The end result is not that important, although I cherished my ‘half-sphere’ and made it out of water-based clay and let it dry to give to my son.
Here’s the link to the lesson, if you are interested in subscribing for a month, at least. Please note, I am not receiving any monetary benefit from recommending them. I just couldn’t find anything at all better for free.
Click here for a basic list of tools and supplies.

Basic Concepts of Sculpting
1. Blocking In
Just start piling the clay into the shape you are aiming for. As you add, be sure to push and smear in each additional piece so that it sticks and blends well with the pile of clay you are working with.

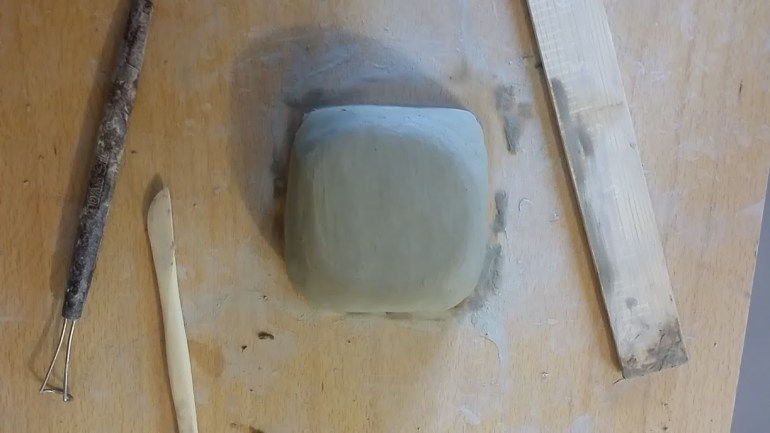
Step 2. Adding and blending
As you get closer to your square shape, keep turning the shape you are building to see what might need to be added to each side to make it flat. Push and smear each new piece you add into the main block.

3.Cutting and removing
Just use a simple paint stirrer to slice excess clay off the sides to make your shape more square with a simple sawing motion. It works beautifully!


You can also use a special rake tool to smooth off and remove unwanted excess clay. Normally, that’s what you would use.
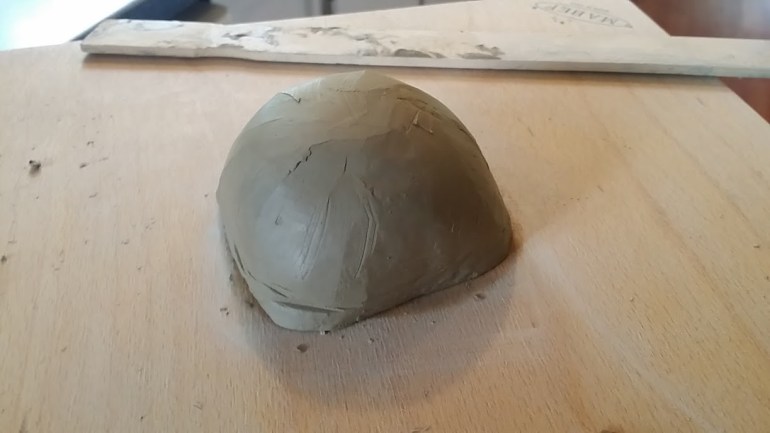
 Change the half cube to a half sphere by…
Step 4. Dragging and moving the clay
You can use the stirrer to begin to drag the clay from the top to the sides changing the sharped edges into rounded ones. You can also drag clay by holding the ruler sideways and putting pressure on the side then just rotate your wheel. It will cause the square corners to disappear and give you a round base.


You can also drag the clay with your rubber kidney bean and/or a wooden curved spatula like tool. Check out Sculpture House for large scale sculpting tools.
Pro-Tip: Eric mentions often that the typical small scale tools you can buy for modeling/sculpting at hobby stores are designed for things like figurines and are two small for what we are learning. Little tools make a multitude of ‘little problems’. A large scale tool covers more surface area and you make fewer mistakes. We need to work larger scale if we want to move towards classical 1/2 to life size sculptures.

Even more interesting is the fact that for much of this process you don’t need tools at all. You can just use your hand or the side of a finger, or your palm. Eric says he can get 70% the way there on what he’s sculpting just with his hands or the side of a bent index finger, or the palm.

This post is really just an overview of the lesson you will watch online. I could never hope to communicate all the great concepts or demonstrate them the way Eric Wilson does it.
Basic Concepts of Sculpting
But this post does give you an idea of what the main concepts are. The first few videos in the series are essential to learning to sculpt. Look under our Resources tab for the link to New Masters Academy.
Have fun!
~ Donna
