
Sculpting peppers is not only challenging, but apparently is also important preparation for sculpting the body.


I find peppers of all kinds enchanting to sculpt. They have such interesting folds, curves, and shapes! My hardest lesson as a beginner was sculpting the bell pepper from a video at New Masters Academy.
I’m now enrolled in the NMA coaching program with world-renowned sculptor Johanna Schwaiger from Salzburg. She’s doing a great job and teaching me so much!
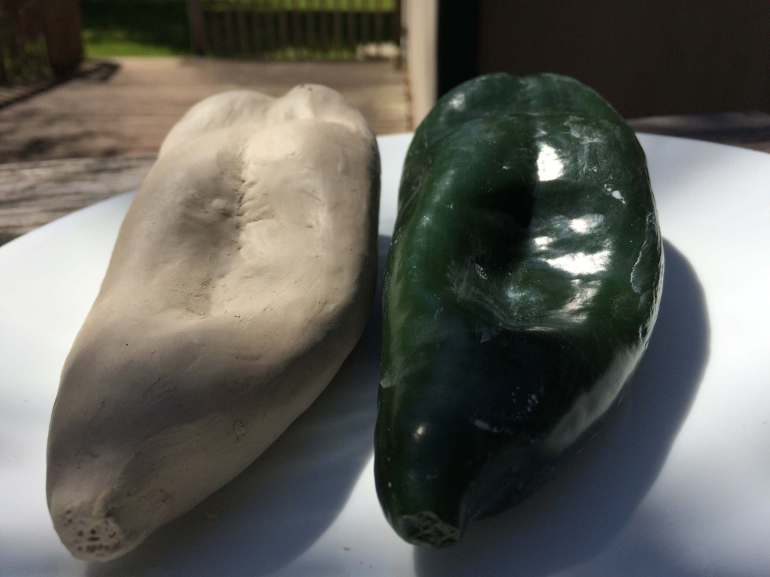
She looked over this website and all the work I’ve done both in sculpting and drawing. Her first assignment for me was to sculpt a pepperoncini pepper. I couldn’t find one but sent her a photo of a Poblano pepper from the grocery store and she said it was perfect for our purpose.
The goal is to learn to sculpt an organic object with lots of planes and curves. The bell pepper is far more uniform than a Poblano pepper.
After this first pepper, where I had trouble getting it exactly the right size, she assigned me another pepper and then I’ll finish the David Eye model. I’ve actually started that too, but she wants me to really focus on accuracy before starting that.


She said to do the following:
- Measure the highest point of the pepper, the exact width, and length. Get that all perfect.
- Then measure with your eye exactly how far each curve goes and exactly the moment it changes direction. My curves and gesture need to be as accurate as possible and curves can be measured!
- Don’t worry about the details. We are aiming for better form.
- Step back from your project, several feet on a regular basis.
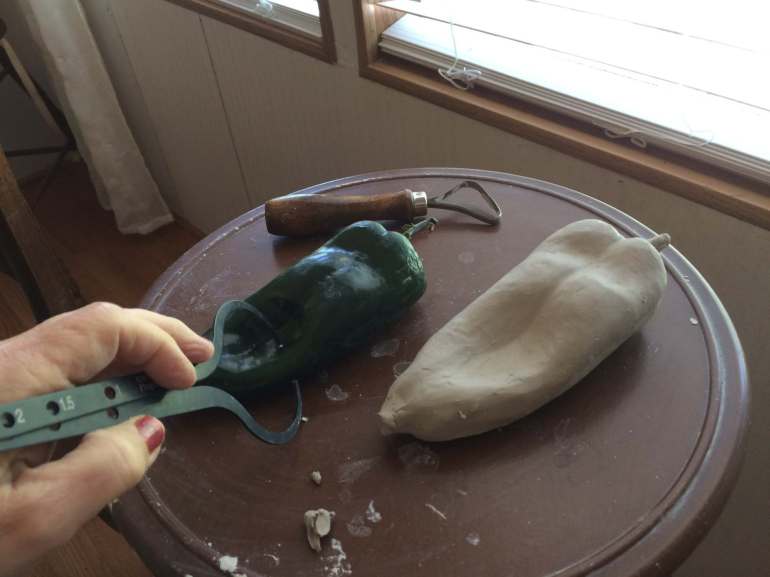
- Double check to make sure your proportions are correct. Calipers are great for that. I got mine from Lee Valley Tools.
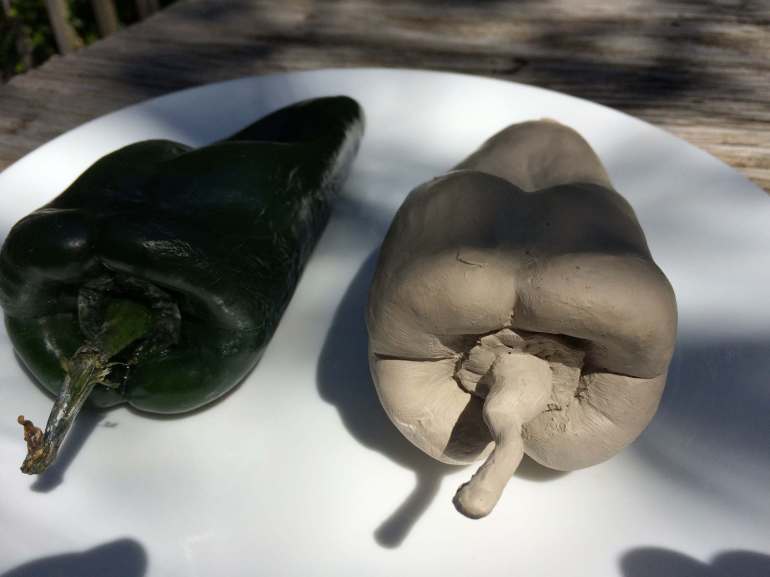
 I had figured out that I needed to do that because of my 2ft Helen. I didn’t realize her head was out of proportion until the next day. Thankfully, I anticipated the tunnel vision of staring too hard at details and not ‘seeing’ the overall shape. So I kept my pepper damp and went back to it the next day. I did my best to carve off the excess clay but it was challenging! I learned my lesson–Get the contours and proportions right first.
It turned out I was about 1/4″ too big all over and a 1/2″ too long. I was running out of time before the coaching session so I just finished up on the details. You can see the finished pepper on my gallery here.

So it’s back to the modeling stand to work on another pepper, and pray my half-finished David Eye model doesn’t harden too much. I’ve got it wrapped in damp cloth and covered by 2 garbage bags. I just spray it with a water bottle now and then.

I hope you enjoy these tips from a Johanna! If you would like to start sculpting, I can’t recommend a better source than New Masters Academy.
Enjoy!
Donna
