Yesterday, I arrived at Tom LaRocks’ atelier school and spent a fascinating four hours drawing the Bargue drawing plates! I think we were both surprised at how accurately I could draw sight/size without measuring – just by eye. My first drawing was perfect according to measurements when we checked. That made me smile!

It’s surprising, because I rarely draw and have drawn maybe a handful of drawings in the last four years. I draw each project I sculpt, and now and then I draw a few small sketches of ordinary objects around the house, or draw devotionally, but all together it might be 20 hours of drawing in four years.
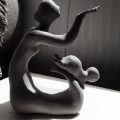
Apparently, sculpting really does train the eye for drawing! I know that I have been shocked at how good my few drawings have been, especially as some of them have been portraits. They still take me a some work, but have come out very well! I only drew for one year before starting to sculpt and only one face. So the portraits I’ve done for sculpting (about 3), just turned out much better than I expected.
Supplies:
- Mahl stick (to keep your hand off your work while drawing
- Mono round eraser
- sanding block
- H, HB, and B pencils
- two easels
- artist tape
- 18 x 24 400 Strathmoore paper
- 19 x 25 field sketch board and clip
- knead-able eraser
- level
- see through rulers

Lessons I Learned Today
I learned several specific things in this first lesson:
- How to sharpen a pencil to expose the lead.
- How to hold the pencil – huge because I’ve been holding my pencil like I write. It’s a habit I have to break. 🙂
- How to blow up the plates to the correct size to copy.
- How to measure and correct and how to stand back and view both model and my drawing.
- How to use both glass and black plastic mirrors to find errors. You view both your model and drawing at the same time in the mirror and it helps you catch mistakes, especially when you can’t ‘see’ any more.

The Bargue Drawing Process
The most important thing I learned is the drawing process which can be summarized as : points, lines, tilt, shapes, measure.
- First you use the level to draw matching horizontal and vertical axis from which to measure points.
- Then you put in about four to six major points. You mark points where lines cross the vertical and horizontal axis. From there you can mark points further out.
- First put in a few points, then draw by ‘eye’.
- Afterwards, check to make sure your geometry is correct.
- 2nd pass, you thicken your lines. You will measure the distance between both edges of a thick line from your horizon and vertical axis. Then draw in several lines to fill in the gap of the big lines.
- 3rd pass, you clean up your lines with the mono eraser or kneadable erase to make them the same shape and size as the charcoal drawing lines.
- Make sure the line values are the same (light or dark values).
- Check the tilt of each line and it’s angle.
- Step back and look at the negative shapes the lines make as they cross to help insure that your lines and points are in the correct place.
- Lastly, measure everything to fix any problems you see. Now repeat!

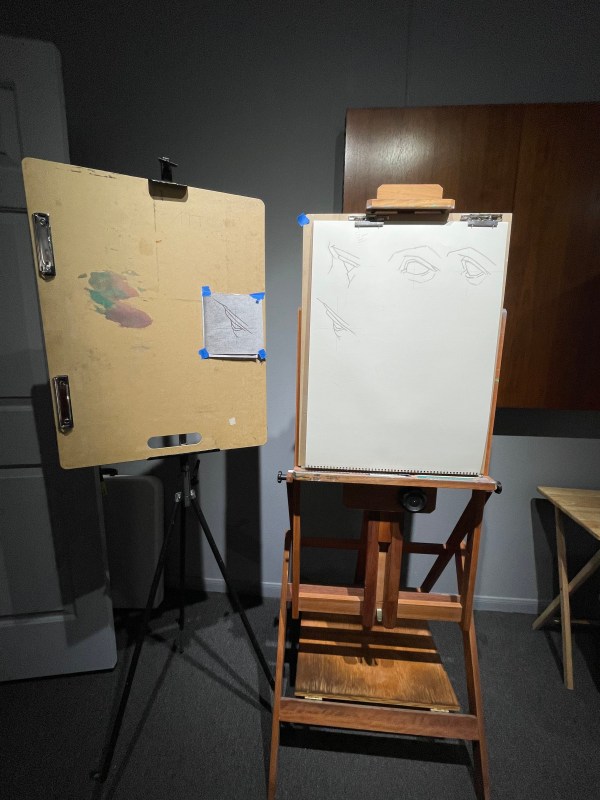
Here you can see Angi’s work. She has been working with Tom since September (4 months)at 3 days a week. The Atelier progress is to draw all the plates, then draw casts, and finally draw live. She is drawing casts like this one and also starting to draw live as well. I just thought this drawing was stunning. She spent four hours on it yesterday and I can’t personally see how things changed from when I walked in. The details are so meticulous and fine. It takes a lot of patience to draw this way, but you learn a LOT!
I’m planning to draw a plate a day so I can make progress when I’m not at the studio. Looking forward to the next class!

Thanks a lot. I’m self-studying drawing the Bargue plates at home, and your checklist of how to draw the Bargue plates really helped.
LikeLike
I’m glad it helped! I’ve enjoyed learning with my teacher.
LikeLike